The ThinkPad T480 uses Lenovo’s Power Bridge design: a small internal battery plus a removable external rear battery. The external pack is a quick swap; the guide below focuses on the internal battery replacement with clear, safe steps—then shows how to put everything back together.
- Rapid percentage drops or unexpected shutdown at 15–30%.
- “Plugged in, not charging” or charging stuck at a fixed %.
- Battery Health/Full Charge Capacity far below design value.
- Device runs only on AC; power loss when AC is unplugged.
- External pack drains but internal stays at 0% or vice versa.
- Physical swelling, hot battery, or a wobbly chassis bottom.
If you see any of the above—especially swelling—replace the affected battery and recycle it properly.
Choose the correct T480 batteries
All options below are T480-compatible. Pick one internal (required) and one external (your endurance choice).
| Type | Capacity | Product | Buy |
|---|---|---|---|
| Internal (built-in) | 24Wh (01AV421) |
 Essential for Power Bridge; enables hot-swap of the rear pack.
|
Buy Internal 24Wh |
| External (rear, removable) | 24Wh — 61 (01AV423) |
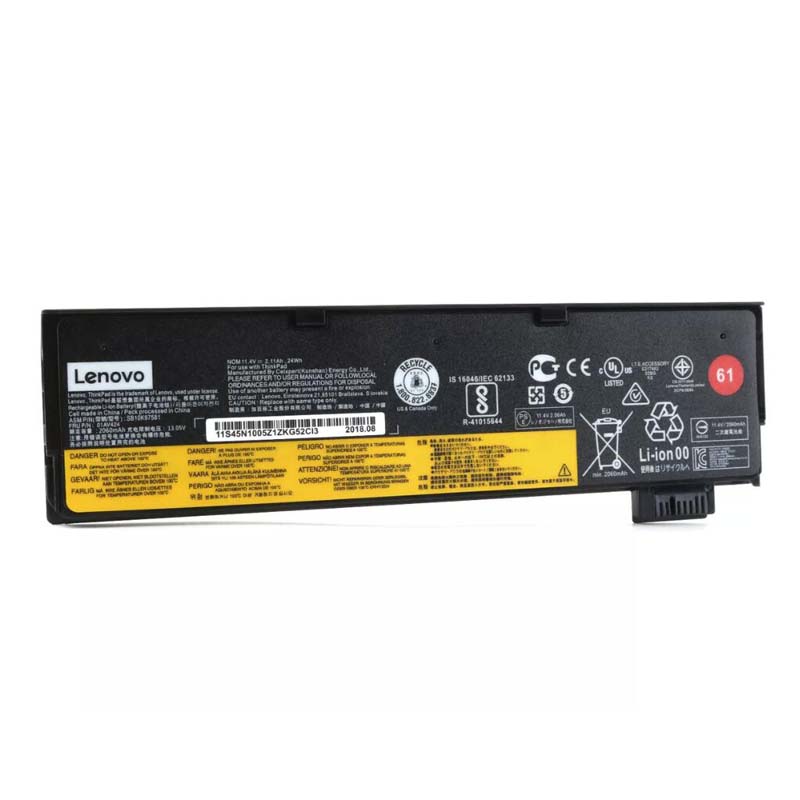 Thinnest option; light daily use.
|
Buy 24Wh 61 |
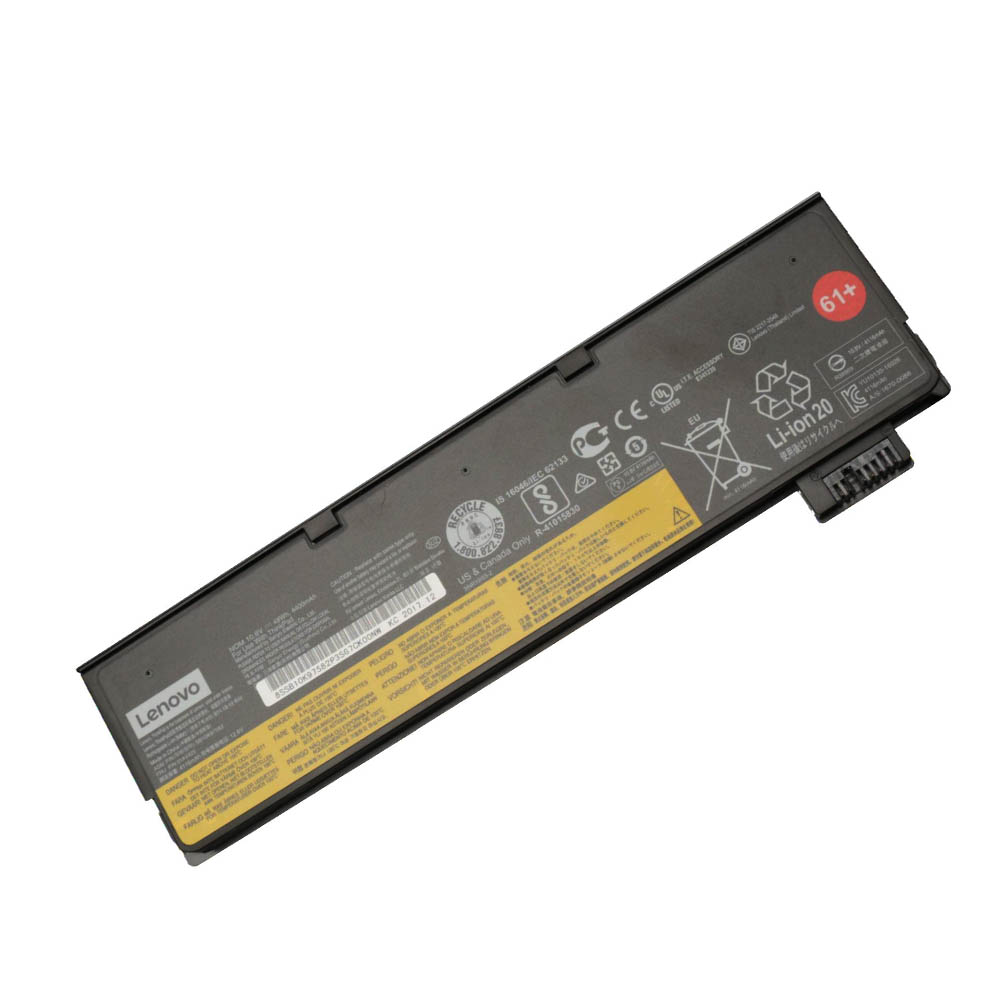
| 48Wh — 61+ (01AV427) |
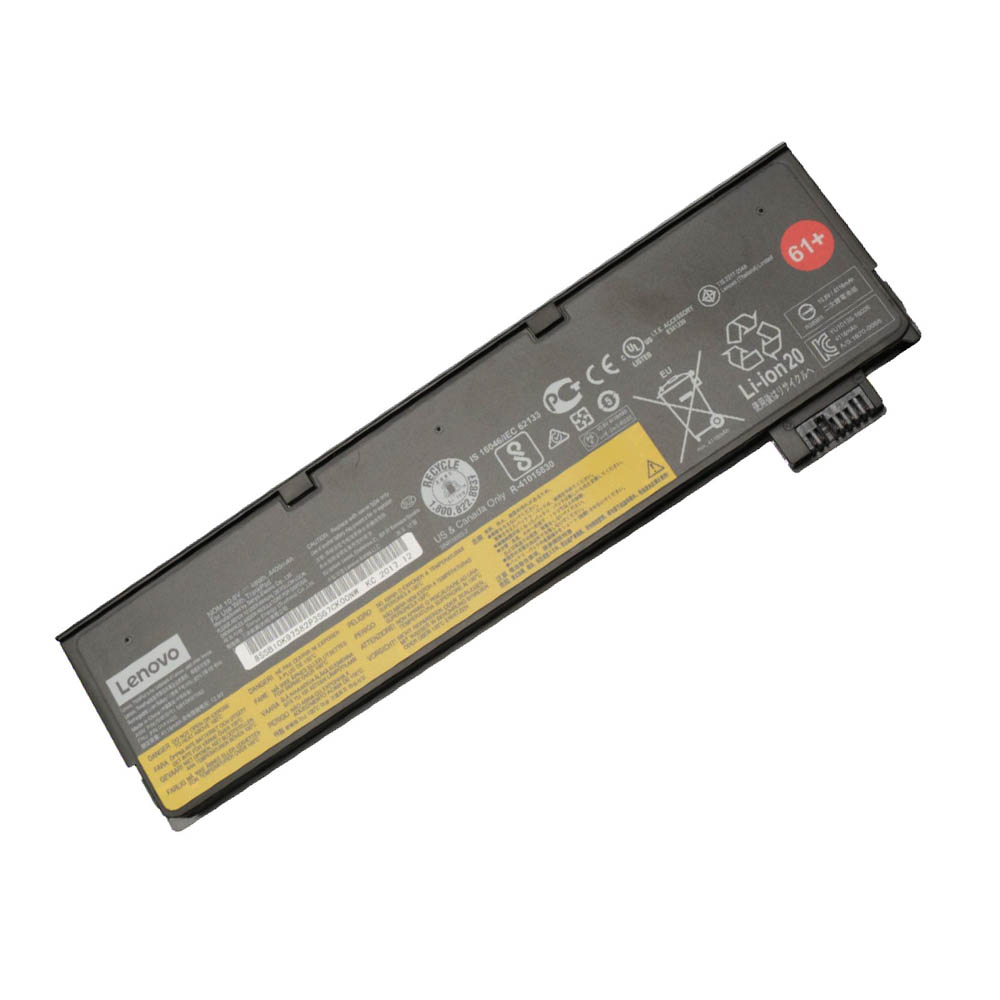 Great balance of runtime vs. weight.
|
Buy 48Wh 61+ | |
| 72Wh — 61++ |
 Maximum endurance; creates a “humpback” profile.
|
Buy 72Wh 61++ |
Safety first
- Back up your data and shut down properly when prompted.
- Use a small Phillips screwdriver and an ESD strap if available.
- Do not work on a swollen or physically damaged battery—replace it immediately and recycle properly.
Disable the built-in battery (BIOS)
Before opening the chassis you must electronically disable the internal battery in BIOS.
Step 1
Disconnect the power adapter.
Step 2
Press the power button.
Step 3
Tap the F1 key repeatedly to enter the Setup (BIOS) menu.
Step 4
Select the Config menu.
Step 5
Select the Power menu option.
Step 6
Select Disable Built-in Battery.
Step 7
Select Yes in the confirmation box.
Step 8
The system will shut down, and the internal battery is disabled.
Remove Removable (External) battery
Step 1
Slide the latch marked with “1” to the unlocked position.
Step 2
Slide the latch marked with “2” to the unlocked position and slide the battery out to remove it.
Base cover assembly
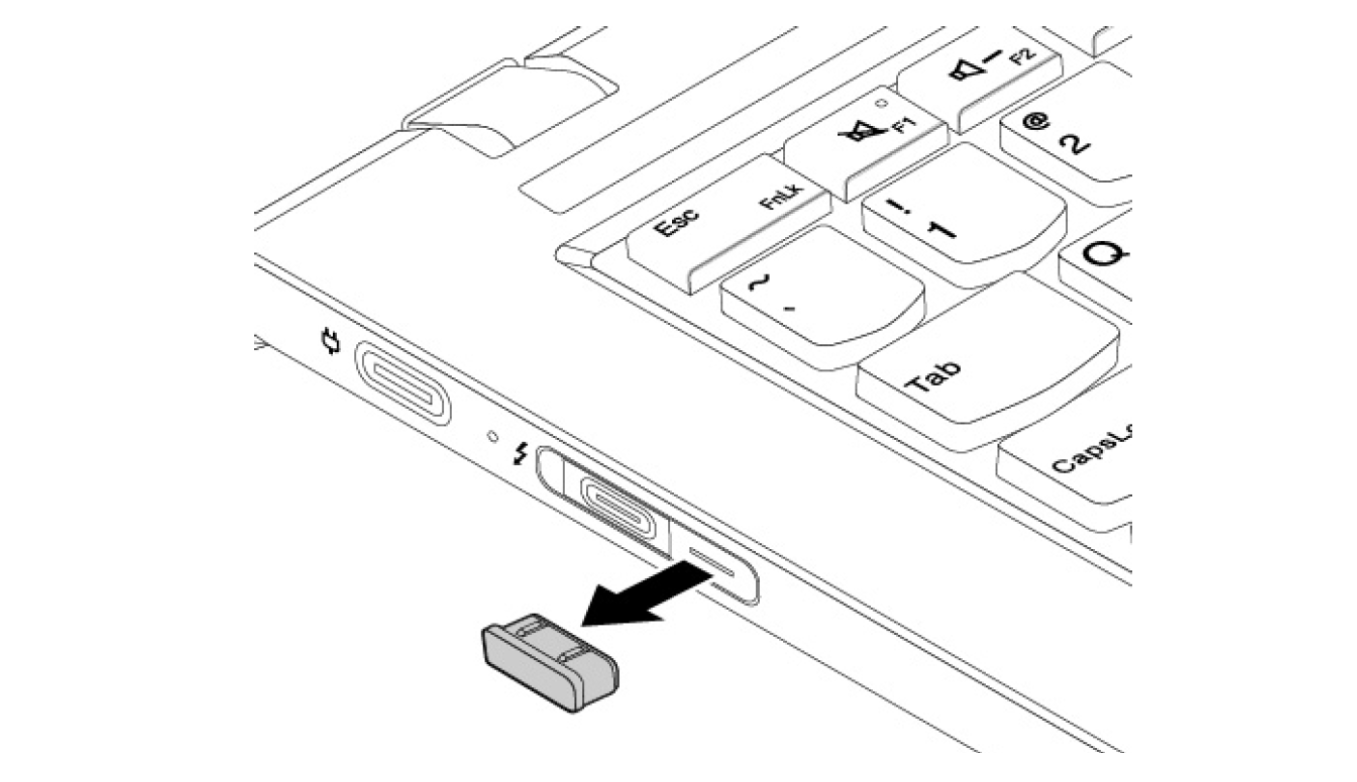
Step 1 — Remove the connector cover
Step 2 — Loosen six screws
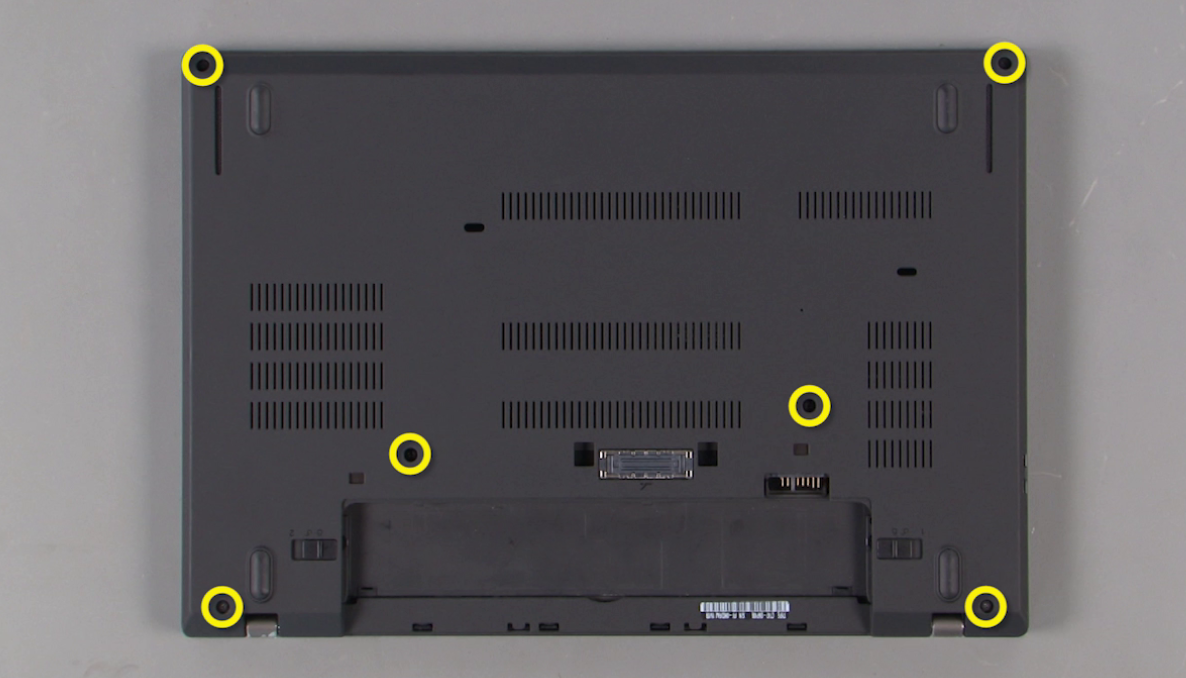
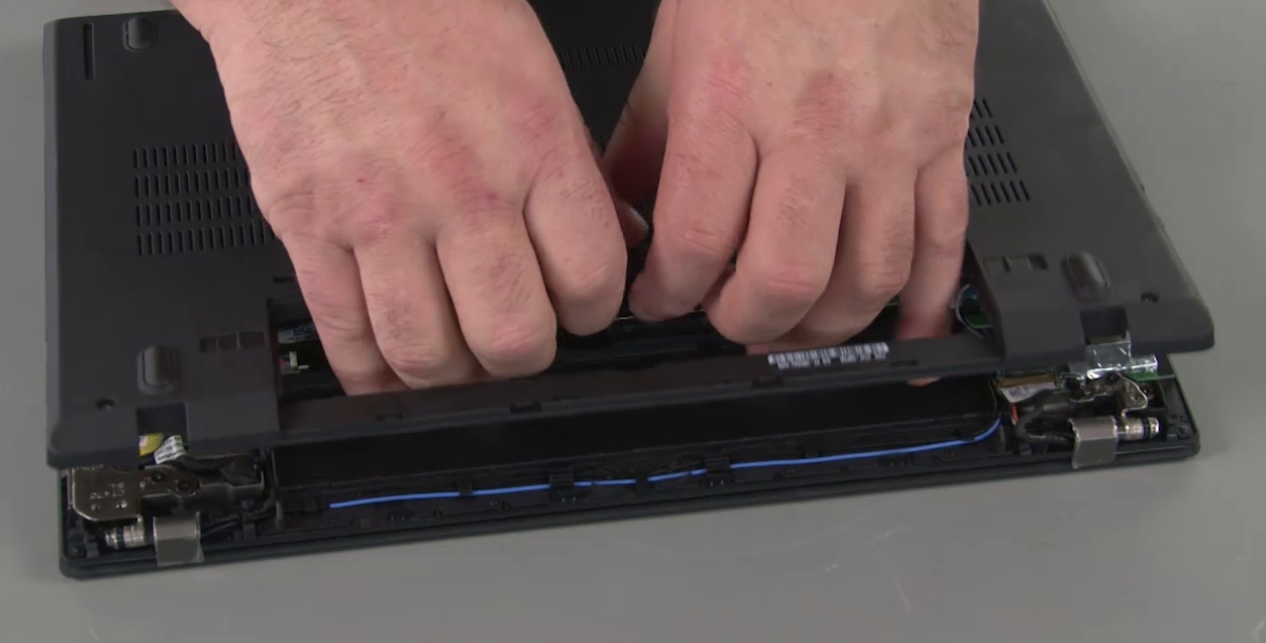
Step 3 — Lift and remove bottom cover
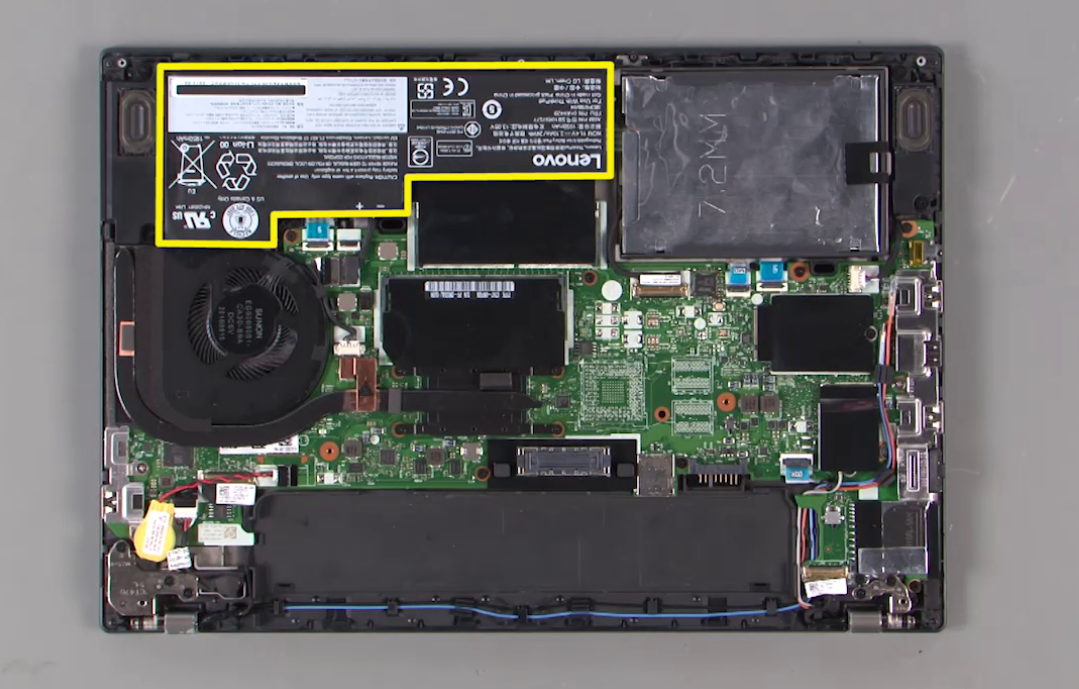
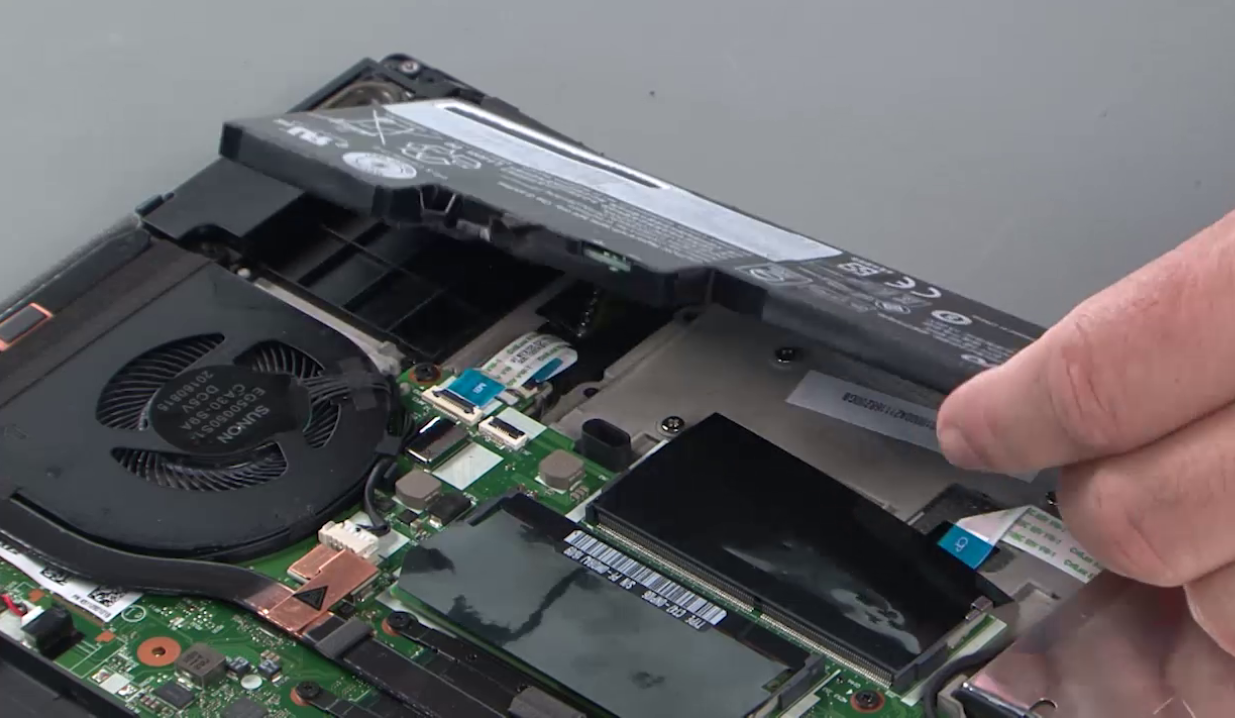
Built-in battery (internal) — removal
Step 1 — Disconnect
Disconnect the internal battery cable from the system board.
Step 2 — Unscrew
Remove the two (2) Phillips screws securing the internal battery.
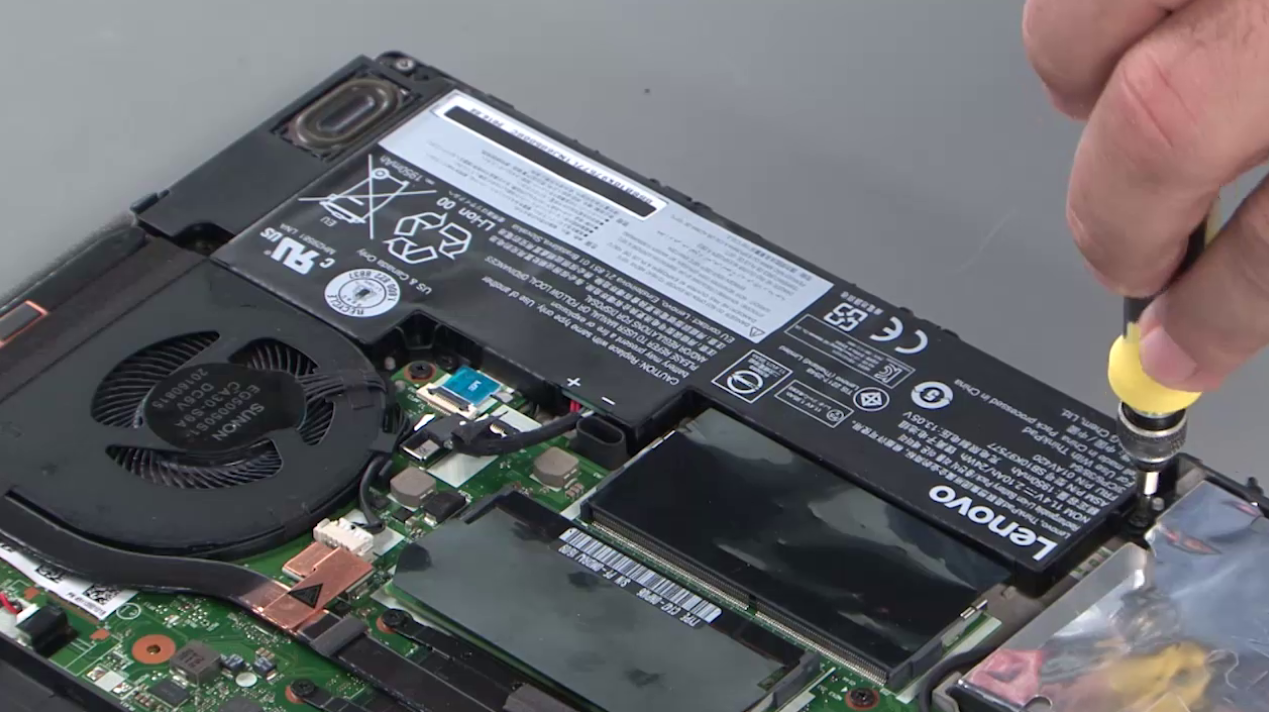
Step 3 — Lift out
Lift the battery from the system and set it aside for proper recycling if it’s faulty.
Install the new internal battery & reassemble
- Place the new internal battery into position.
- Reinstall the two screws and tighten snugly (do not over-torque).
- Reconnect the battery cable to the system board.
- Re-fit the bottom cover from the hinge side, press around the edges to seat, then tighten the six screws.
- Reinstall the connector cover.
- Slide in your external (rear) battery and lock both latches.
Post-install checks & tips
- Health check: In Lenovo Vantage, confirm Full Charge Capacity is close to the design value of the new pack.
- Calibration (optional): Do one normal discharge to ~10–20% and charge to 100% uninterrupted to refine the gauge.
- Conservation mode: If you mostly use AC power, enable charge thresholds (e.g., stop at ~80%) to reduce wear.
- Thermals: Keep vents clear—heat accelerates battery aging.