This step-by-step guide covers tools, safety, model differences (Inspiron, Latitude, XPS, G-Series, Precision), detailed procedures, calibration, troubleshooting, FAQs—plus direct links and a simple path to find the correct battery on our store.
Quick Answer
Yes, you can replace a Dell laptop battery yourself. On models with a removable battery, it takes 1–2 minutes. On models with an internal battery, expect 15–40 minutes with basic tools. The biggest success factors are identifying the exact model, using the right battery, following ESD-safe handling, and reconnecting the battery cable properly.
Should You DIY? (Warranty, Safety, Difficulty)
- Warranty: If your Dell is still under warranty, opening the base cover may affect coverage—check terms first.
- Safety: Swollen batteries require extra care (no pressure or bending). Stop if you see deformation.
- Difficulty: See the quick difficulty map below.
| Family | Battery Type | Typical Steps | Difficulty |
|---|---|---|---|
| Inspiron (3000/5000/7000) | Mostly internal (older: removable) | Remove base → disconnect → swap → reassemble | Easy–Moderate |
| Latitude (business) | Internal (older: removable) | Base cover → cable → screws/adhesive → swap | Easy–Moderate |
| XPS (thin & premium) | Internal, compact layout | Torx screws; careful cable & speaker routing | Moderate |
| G-Series / Alienware | Internal, higher-capacity packs | Base cover → larger pack; watch fan/LED cables | Moderate |
| Precision (workstation) | Internal; multiple Wh variants | Base cover → pack + bracket/screws → swap | Moderate |
Identify the Exact Dell Model & Battery
- Service Tag: Bottom cover, hinge area, or BIOS (F2 at boot). Maps to a precise model (e.g., XPS 13 9350).
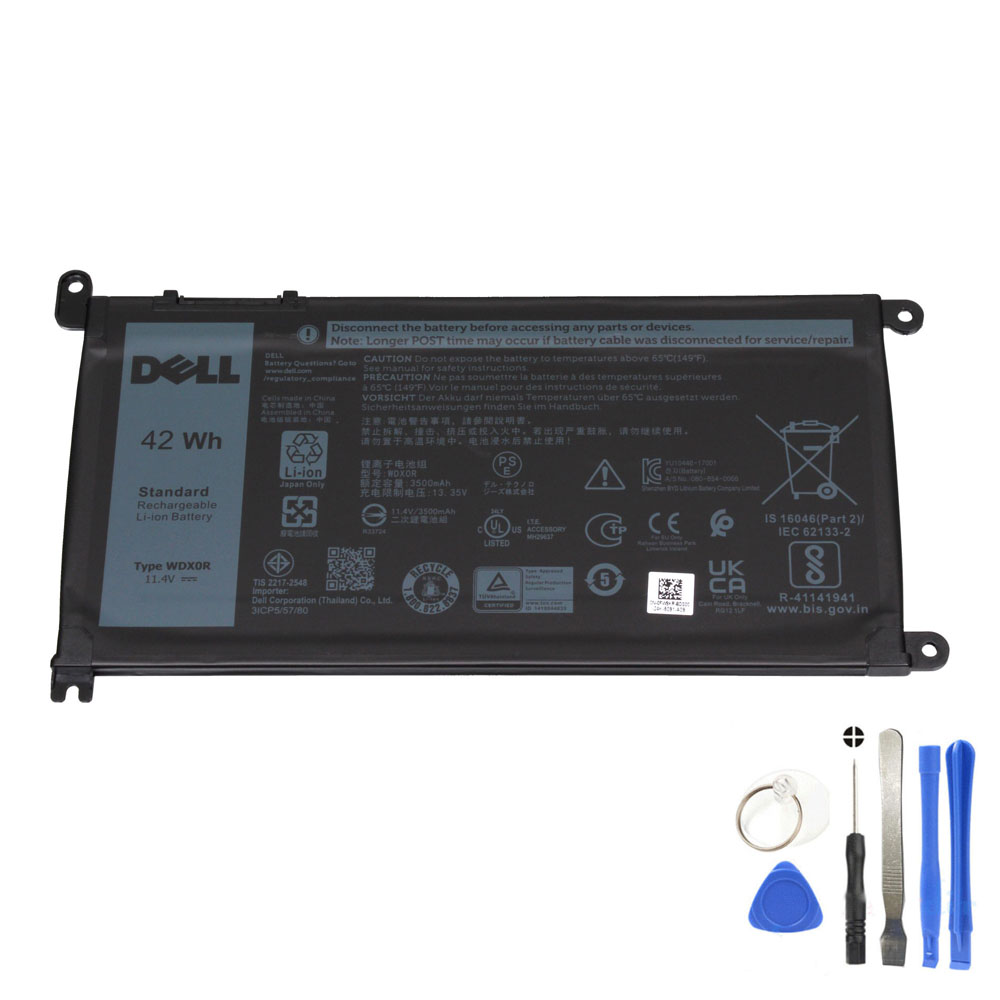
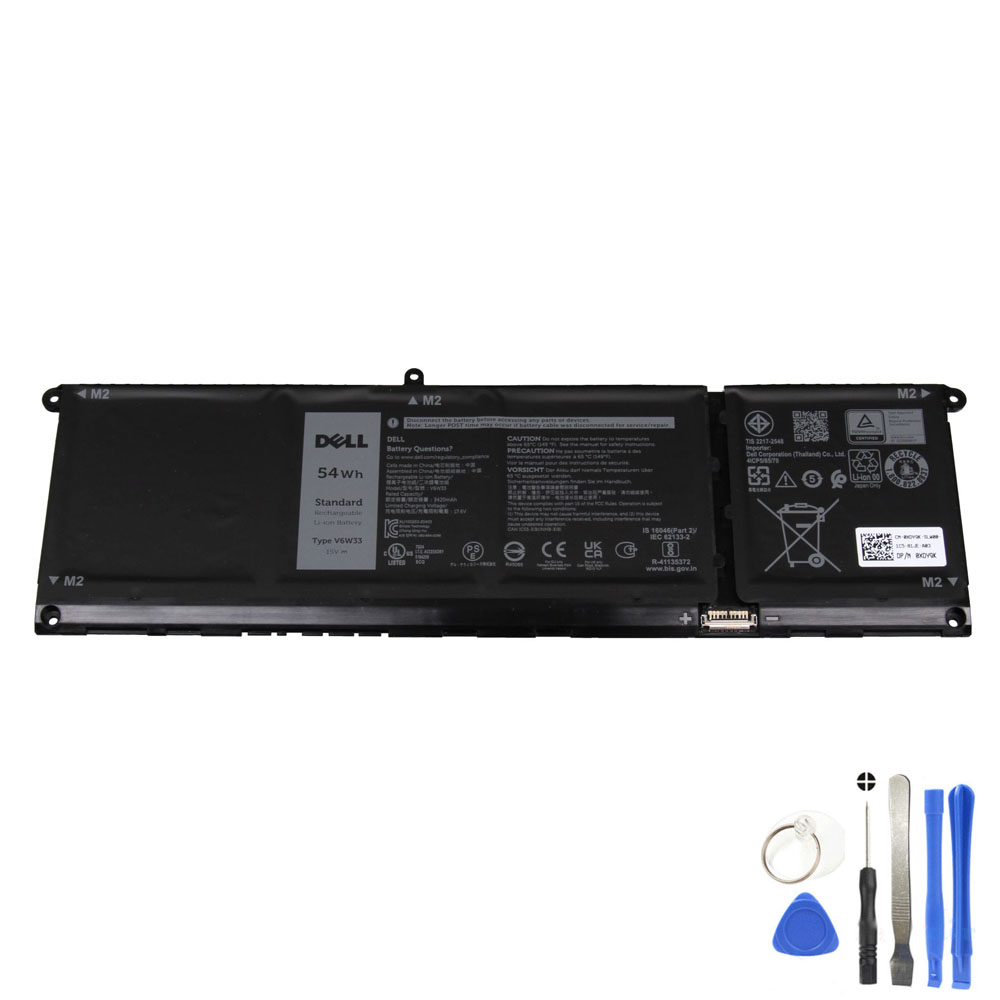
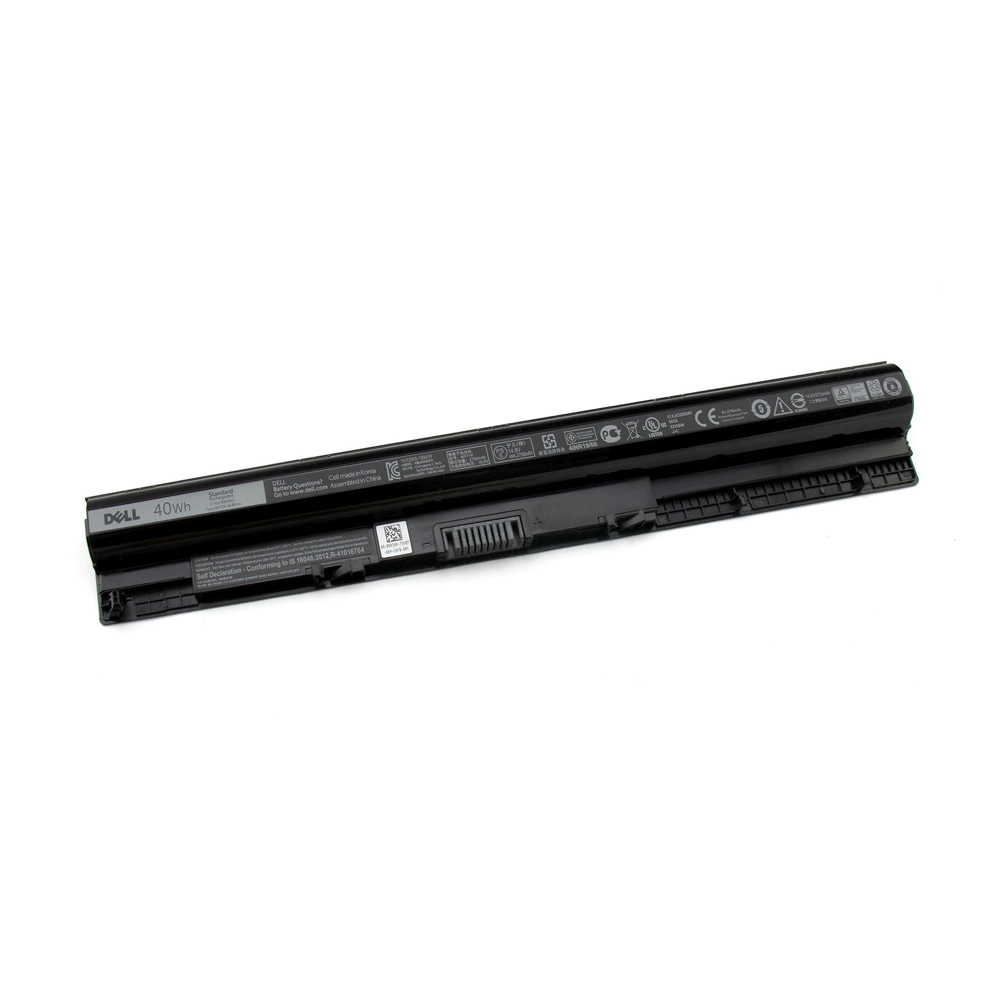
- Battery P/N (part number): On the battery label (e.g., WDX0R, V6W33, M5Y1K). Match voltage, chemistry, connector, and shape.
- Watt-hours (Wh): Higher Wh = longer runtime, but the pack must physically fit your chassis/brackets.
- Cross-check connectors: Ensure the cable orientation and pin pitch match your original.
Find the Right Battery on Our Site (Step-by-Step)
- Start at the Dell category: Battery for Dell (category).
- Use search or filters: In the search bar, enter your Dell model (e.g., “Inspiron 15 3000”) or the battery P/N (e.g., “WDX0R”, “V6W33”, “M5Y1K”).
- Open the closest match: Click into a product page that mentions your model or P/N.
- Verify compatibility on the product page: Check the title/description for your model or P/N; confirm Wh, voltage, connector, and photos (shape & screw positions).
- Review the gallery: Compare the product photos with your original pack. If they match in outline and connector style, you’re good to go.
- Add to cart & checkout: Choose quantity, add to cart, and proceed to secure checkout.
Tip: If your model supports multiple Wh options, pick the capacity that fits your chassis/brackets. When unsure, search with both your Service Tag and the original P/N for the most accurate match.
Tools & Prep Checklist
- Small screwdrivers (Phillips #0/#00, Torx T5/T6 for many XPS/Latitude)
- Plastic spudger/picks; ESD wrist strap (or touch a grounded metal surface frequently)
- Isopropyl alcohol & lint-free cloth (for mild adhesive release/cleanup)
- Magnetic mat or parts tray; optional headlamp
- Replacement battery (new, correct P/N, reputable supplier)
Before you start: Back up files, power off, unplug, and hold the power button 10–15 seconds to discharge residual power.
Battery Health: Symptoms vs. Actions
| Symptom | Likely cause | How to check | Action |
|---|---|---|---|
| Battery drains fast / jumps % | Cell wear or miscalibration | Windows battery report; Dell diagnostics; cycle count | Try calibration; if still bad, replace |
| Won’t power on without charger | Aged/failed pack; bad cable connection | Check BIOS battery health; reseat cable | Replace battery; verify connector seating |
| Battery “not detected” in BIOS/SupportAssist | Disconnected cable or incorrect P/N | Open and re-seat; confirm P/N compatibility | Reconnect/replace with correct pack |
| Chassis bulge / trackpad lift | Battery swelling (hazard) | Visual inspection; no squeezing or bending | Stop using, replace carefully, recycle old pack |
Replacement Steps
A) Models with a removable battery (older Inspiron/Latitude)
- Power off, unplug charger, hold power 10–15 seconds.
- Slide latches and remove the battery pack.
- Inspect contacts for dust/debris; clean gently if needed.
- Insert the new pack firmly; ensure both latches secure.
- Boot, charge to 100%, then see Calibration.
B) Models with an internal battery (most current XPS/Inspiron/Latitude/G-Series/Precision)
- Prepare the surface: Clean table, good lighting, ESD precautions.
- Remove base cover: Unscrew all bottom screws (many XPS use T5 Torx). Keep screws sorted by location.
- Open the chassis: Use a plastic pick along the edges—no metal prying. Release clips slowly.
- Disconnect the battery cable: Lift/slide the connector gently. If there’s a retention bracket, remove its screws first.
- Remove battery screws/adhesive: Some packs have 4–8 screws; a few use mild adhesive strips.
- Lift the old battery: Keep it flat; avoid bending. If swollen, avoid pressure; lift evenly.
- Seat the new pack: Align holes and cable path; route cables exactly as original.
- Reconnect the cable: Fully seated and level—misalignment often causes “not detected”.
- Reinstall screws & base: Snug screws; ensure clips are engaged.
- First boot: Plug in charger and verify battery recognition in BIOS.
Model-Specific Notes
- XPS 13/15: Torx T5 bottom screws; keep speaker wires clear around the battery.
- Inspiron: Mix of Phillips/Torx; more plastic clips—work edges patiently.
- Latitude: Business-friendly layout, usually straightforward.
- G-Series / Alienware: Larger packs; watch cable slack near fans/LED harnesses.
- Precision: Multiple capacity options; ensure correct brackets/screw map.
First Boot, Calibration & Optimization
- Verify detection: In BIOS, confirm the battery is recognized and charging.
- Calibrate: Charge to 100% and rest for 30–60 minutes. Use to ~10–15%, then charge back to 100%.
- Update BIOS/firmware: Apply updates that improve charging logic while on AC.
- Set sensible limits (if available): Some Dell utilities support reduced charge thresholds for AC-heavy usage.
Troubleshooting After Replacement
| Issue | Likely cause | Fix |
|---|---|---|
| “Battery not detected” | Cable not fully seated; wrong P/N | Open, reseat cable; re-check compatibility on product page |
| Random shutdowns at 20–40% | Gauge out of sync; background load | Do calibration; update BIOS/EC; check apps |
| Won’t charge past 60–80% | Charge limit enabled | Adjust limits in Dell utilities/BIOS |
| Clicking/creaking after reassembly | Clip not seated; screw length mismatch | Reopen edge; reseat clips; verify screw map |
Care, Storage & Safety
- Daily use: Keep between ~20–80% for longevity if you’re near AC often.
- Storage: For weeks of storage, leave ~40–60% charge; power off fully; top up every 1–2 months.
- Heat management: Avoid sustained heat; keep vents clear; don’t block fans.
- Recycling: Don’t trash old batteries. Use certified e-waste/battery collection points.
- Swollen packs: Stop using, replace carefully, and recycle safely—no puncturing or compressing.
Featured Dell Batteries (Direct Links)
FAQ
How do I know which battery fits my Dell?
Use your Service Tag for the exact model and check the P/N on your current pack (e.g., WDX0R, V6W33, M5Y1K). On our site, search by both model and P/N. Then verify Wh, voltage, connector, and product photos.
Can I upgrade to a higher-capacity battery?
Sometimes—only if the chassis/brackets support that size. If your model lists multiple Wh options, pick the one documented as compatible.
Will a third-party battery work?
Yes—if correctly specified and from a reputable supplier. Look for proper protections and compliance, and match P/N or model exactly.
Do I have to calibrate the new battery?
It helps the gauge: 100% → rest → 10–15% → 100%. No need to deep-cycle frequently.