The Engineer’s Guide to Finding the Correct Dell Laptop Battery
How to use Dell Support, SupportAssist, BIOS diagnostics, and Windows tooling to identify the exact battery your Dell notebook requires—plus buying guidance and popular, field-tested replacements.
Why correctness matters
Modern Dell notebooks enforce tight coupling between the system board’s power management and the internal battery pack. Using the wrong pack can trigger BIOS warnings, inconsistent charging, shortened runtime, or throttling. The correct replacement must match not only the mechanical footprint and connector, but also the electrical profile (voltage family, cell count) and—on many models—the pack’s firmware signature that exposes health and capacity data to the EC (Embedded Controller).
The quick decision map
Fast track (most users)
- Find your Service Tag (under the laptop, in BIOS, or in SupportAssist).
- On the Dell Support site, enter the Service Tag and open Parts & Upgrades.
- Record the listed battery part number (DP/N or TYPE).
- Purchase the matched battery from the vetted category below.
Cross-check (power users)
- Run SupportAssist → Battery Health to confirm the pack name.
- Open BIOS → Battery Information to verify voltage family and health.
- Generate Windows powercfg /batteryreport and compare NAME vs. your code.
Method A — Dell Support (Service Tag lookup)
1) Get your Service Tag
- Printed on the bottom case or in the battery bay (for older removable-battery models).
- BIOS: power on, press F2 → Overview.
- Windows: press Windows → type “SupportAssist”, open it, and check the device header.
2) Look up Parts & Upgrades
- Go to Dell’s Support page and enter the Service Tag.
- Open Parts & Upgrades or Accessories for your specific model.
- Locate the Battery category. Record the TYPE (e.g., WDX0R) or the DP/N (Dell Part Number).
Method B — Dell SupportAssist (inside Windows)
1) Open SupportAssist
Launch Dell SupportAssist in Windows. On the home tile, confirm the model and Service Tag.
2) Run Battery Health or System Scan
Navigate to Troubleshooting → Scan Hardware or a dedicated Battery section. Capture:
- Battery Health (Normal / Fair / Poor / Replace)
- Battery Name or ACPI name if shown
- Design Capacity vs Full Charge Capacity
If the app exposes a pack name like WDX0R, you’re done. If not, continue with BIOS and Windows report to cross-check.
Method C — BIOS Battery Information & ePSA diagnostics
BIOS Battery Information
- Restart and tap F2 to enter BIOS (System Setup).
- Open Battery Information.
- Note the Battery Health, Charge Cycle (if available), and sometimes the Manufacturer or Battery Type.
ePSA (Pre-boot) Diagnostics
- Boot and tap F12 → Diagnostics (ePSA).
- Run the battery test for a quick sanity check.
Method D — Windows Battery Report (cross-check)
Windows can generate a battery report that often surfaces the pack’s name and capacity data.
Generate the report
powercfg /batteryreport /output "%USERPROFILE%\Desktop\battery-report.html"
What to read
- Installed batteries → NAME: Sometimes includes the Dell battery family (e.g., WDX0R).
- Design Capacity vs Full Charge Capacity: A worn pack will show a much lower full-charge value.
- Cycle count (if exposed by the controller).
Decoding a Dell battery label: DP/N, TYPE, Wh, and voltage
Every Dell pack carries a sticker with a TYPE code (like WDX0R, G91J0, XCMRD, YRDD6) and a DP/N (Dell Part Number). What to extract:
| Field | Meaning | Why it matters |
|---|---|---|
| TYPE (e.g., WDX0R) | Battery family/shape | Your primary shopping key—must match or be explicitly listed as a replacement. |
| DP/N | Dell Part Number | Maps to OEM catalogs; helpful when searching official parts. |
| Watt-hours (Wh) | Energy capacity | Higher Wh → longer runtime, provided the pack fits and is supported by your chassis. |
| Voltage (V) | Cell count family | 11.1–11.4V class = 3-cell; 14.8–15.2V class = 4-cell. Don’t mix families unless your chassis supports both. |
| Manufacture date | Production batch | Newer is better; avoid long-stored NOS packs when possible. |
Compatibility and capacity upgrades
Same family ≠ same fit without verification
Even within a TYPE family, connector orientation, cable length, or bracket holes can differ between closely related models. Use your Service Tag lookup as authority and visually compare product photos before purchasing.
Capacity upgrades within the same voltage family
If your chassis shipped with a 3-cell 11.4V battery (e.g., ~40–45Wh) and there is an official higher-Wh variant in the same TYPE family, it often works as a drop-in for longer runtime. However, some slim chassis trade battery space for 2.5″ storage brackets; larger batteries may conflict. Check the product page images and notes.
Firmware and telemetry
Dell ECs rely on SMBus telemetry from the pack. Quality replacements expose the same metrics (design capacity, serial, cycle count). Ultra-cheap packs can omit or spoof data; your BIOS may flag them or report “Unknown” health. Favor reputable sellers and packs that declare compatibility with your exact TYPE.
Where to buy (curated collection)
Once you’ve identified the battery TYPE/DP-N, purchase a matched pack from a vetted catalog that groups batteries by Dell families:
Shop: Batteries for Dell – Buy-a-Charger.co.uk
That category consolidates popular Dell packs and clearly lists common TYPE codes in titles or bullets—use your code as the primary filter.
Popular Dell batteries (profiles & quick links)
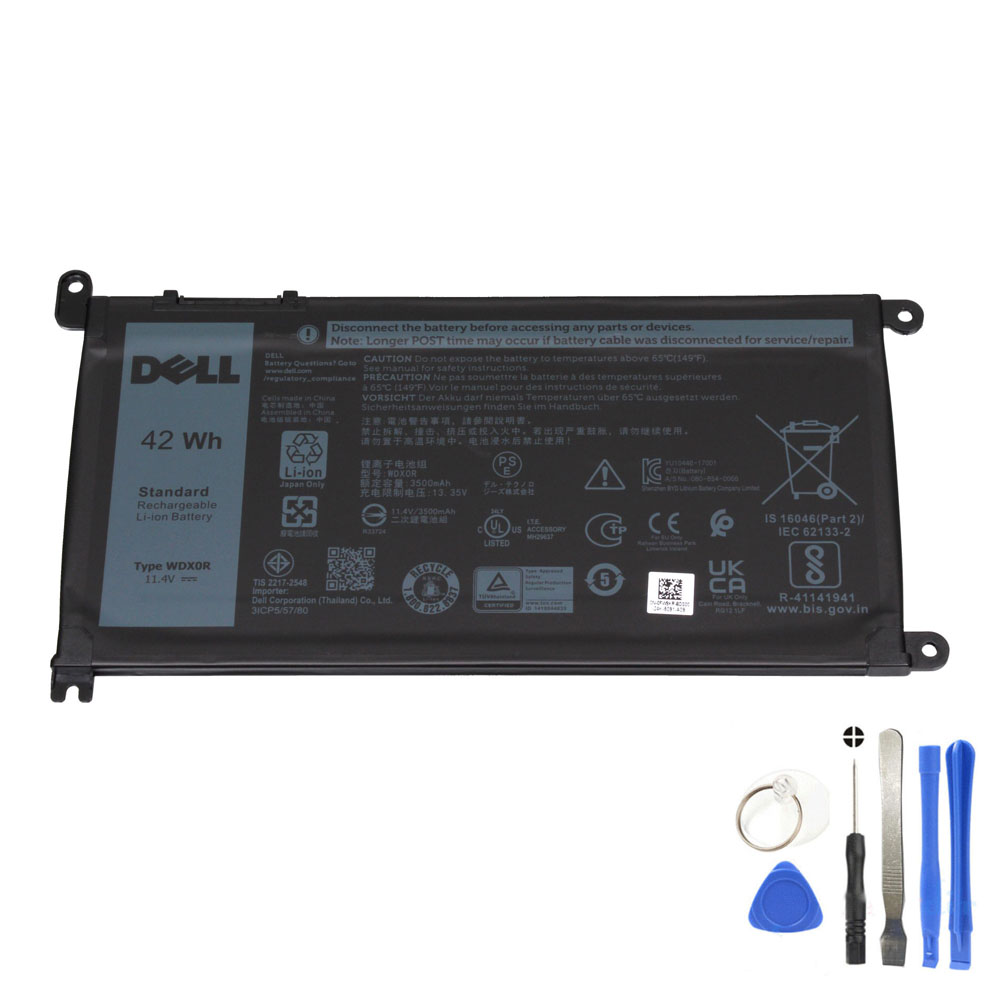
Dell WDX0R — 42Wh
Widely used across thin-and-light Inspiron and some Latitude/XPS variants. Verify TYPE and connector orientation against your Service Tag results.
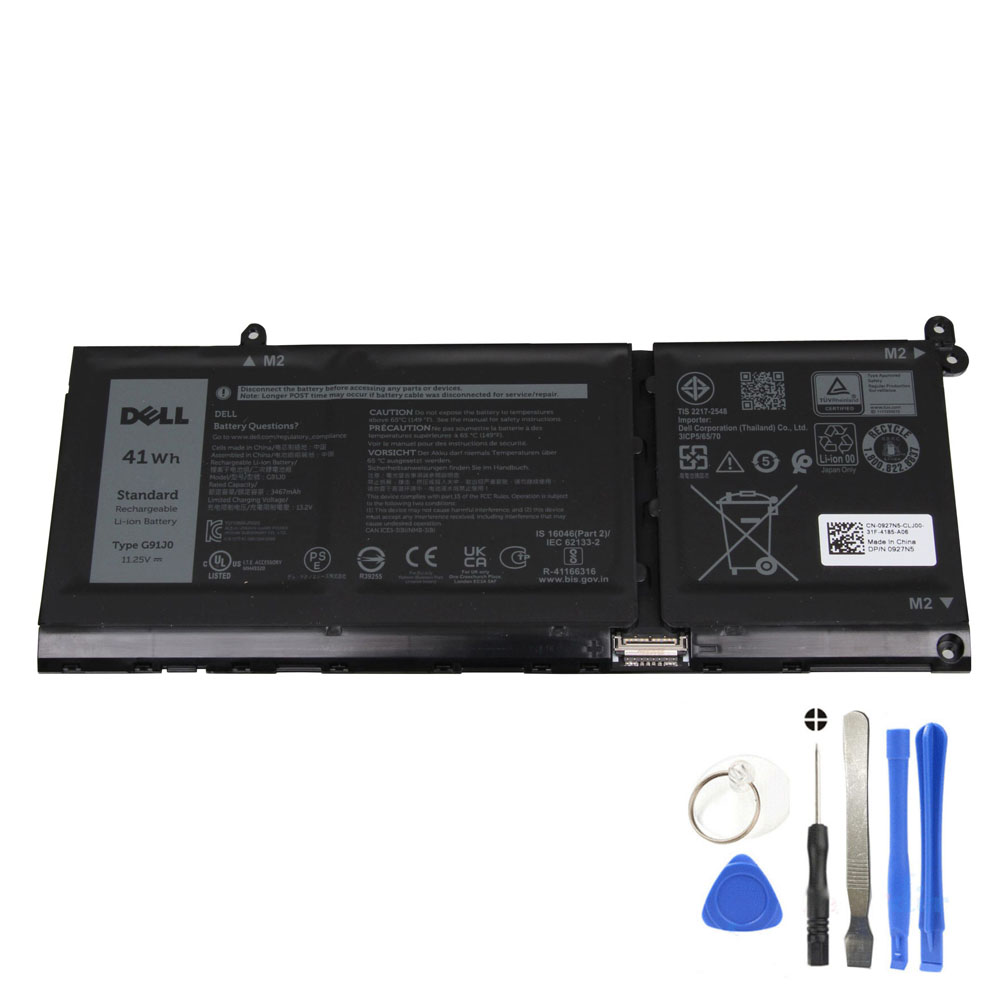
Dell G91J0 — 41Wh
A common 3-cell pack in many mid-generation Inspiron families. Match TYPE and mounting tabs carefully.
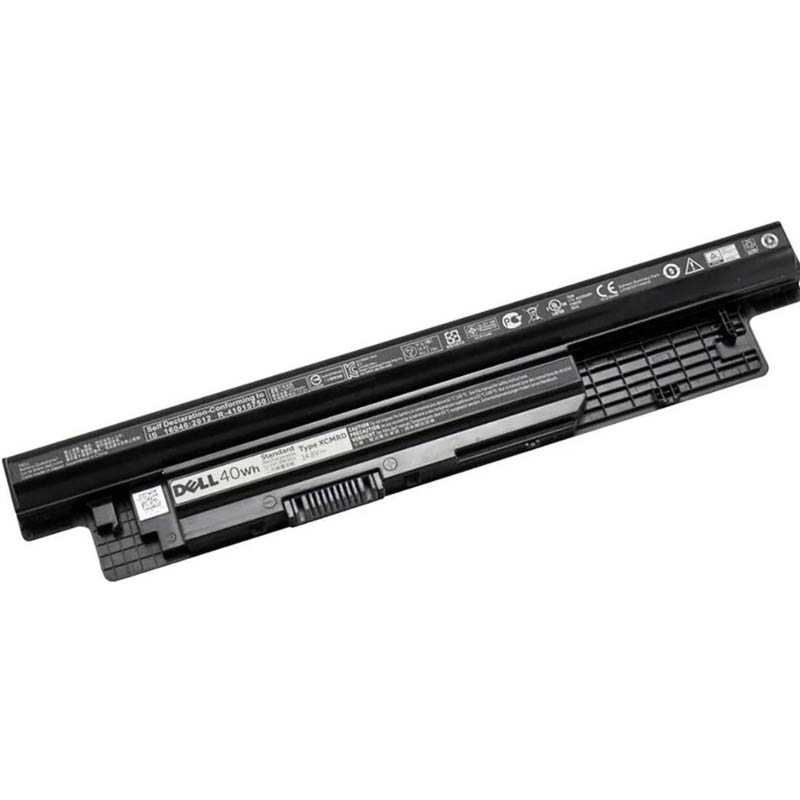
Dell XCMRD — 40Wh
Legacy yet still popular in classic Inspiron/Vostro lines. Check if your bay supports the standard height and bracket layout.
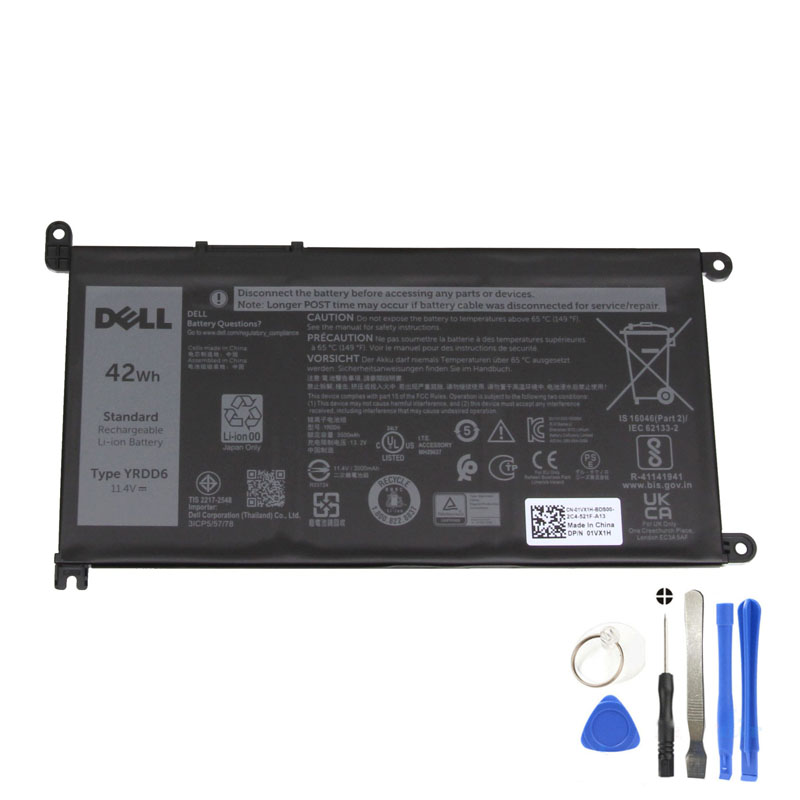
Dell YRDD6 — 42Wh
Another widely seen 3-cell form factor. Confirm TYPE YRDD6 compatibility under your Service Tag before ordering.
If your code isn’t listed above, use the full catalog filter and search by your TYPE/DP-N. The category contains many additional Dell families beyond these highlights.
Installation, calibration, and safety
ESD and teardown basics
- Shut down fully. Disconnect AC and peripherals.
- Hold the power button for 15 seconds to discharge residual power.
- Use a grounded ESD strap if possible. Avoid metal tools contacting board pads.
- Follow your model’s service manual sequence for clips and screws. Many ultrabooks have hidden latches along the palm rest—use a plastic spudger.
- Disconnect the battery cable straight out; don’t lever from one side.
Post-install checklist
- Inspect that the battery sits flat and screw holes align; no cable pinching.
- Reconnect the keyboard/trackpad ribbons cleanly if you removed them.
- Enter BIOS and confirm Battery Information shows a recognized pack and correct health status.
Initial calibration
- Charge to 100% and hold on AC for 30–60 minutes.
- Unplug and use the machine normally to ~10–15% (avoid forced deep drain).
- Recharge to 100%. This syncs fuel-gauge readings for accurate time estimates.
Swelling & disposal
Any sign of swelling or chemical odor means the pack is failing. Stop using the laptop, remove AC, and replace the battery. Recycle the old pack through certified e-waste channels—never puncture or incinerate.
FAQ
Can I install a higher-Wh battery in the same chassis?
Often yes—if Dell made a higher-Wh variant in the same TYPE family for your chassis and the bay has space. Use your Service Tag’s Parts & Upgrades list and the product photos to confirm physical fit.
Windows says the battery is “Unknown” after replacement. Is it defective?
Not necessarily. Some third-party packs expose incomplete SMBus data. If BIOS also shows “Unknown” and the system throttles or refuses to charge properly, the pack may be incompatible—return it and source a model that lists your exact TYPE/DP-N.
Is SupportAssist required?
No, but it streamlines identification and health checks. The Service Tag lookup plus BIOS diagnostics are sufficient for most users.
My removable-battery Dell boots but won’t charge above 60–80%—normal?
Some BIOS settings (e.g., “Primarily AC Use”) cap charge to reduce wear. Check BIOS Battery settings or Dell Power Manager in Windows. Disable caps for full-capacity calibration runs.
How do I verify a seller’s listing?
Match your TYPE/DP-N. Confirm Wh and voltage family. Visually compare connector orientation and bracket holes to the product images. Favor clear warranty terms and QA documentation.
Takeaways
- Your Service Tag is the fastest way to the correct Dell battery TYPE.
- SupportAssist, BIOS/ePSA, and powercfg /batteryreport provide corroboration.
- Buy using the exact TYPE/DP-N match and verify the mechanical fit with product photos.
- Calibrate once, avoid deep cycles, and keep the machine cool for maximum lifespan.